
Gift Wrapping Techniques | Gifts from Handpicked Blog
At Gifts from Handpicked we offer a gift wrapping service for £2.95 at checkout so all the hard work is done for you, but if you fancy having a go at this yourself why not read below to find out some of our gift wrapping techniques!
Helpful Resources
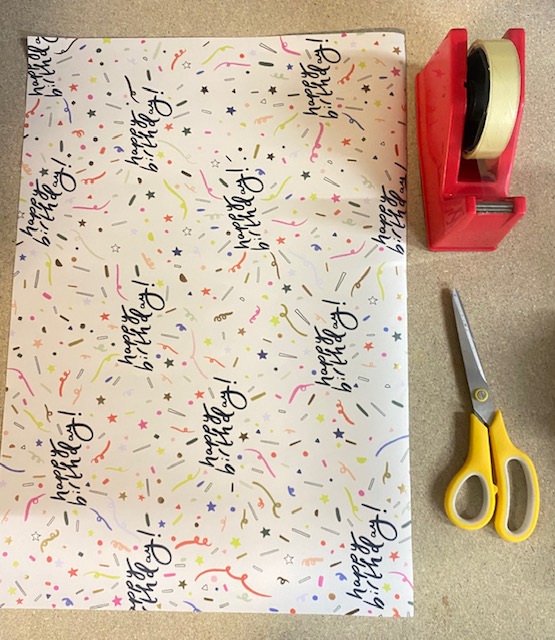
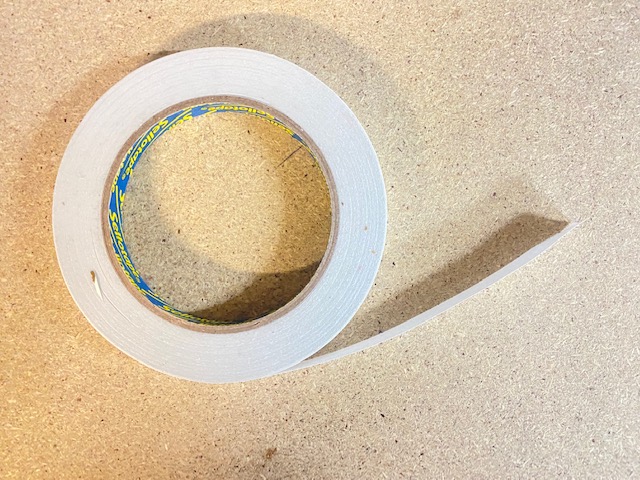
To start your gift wrapping process you only need a couple of handy items, this includes your choice of gift wrap, cello tape, scissors, ribbon, double sided tape and a gift tag.
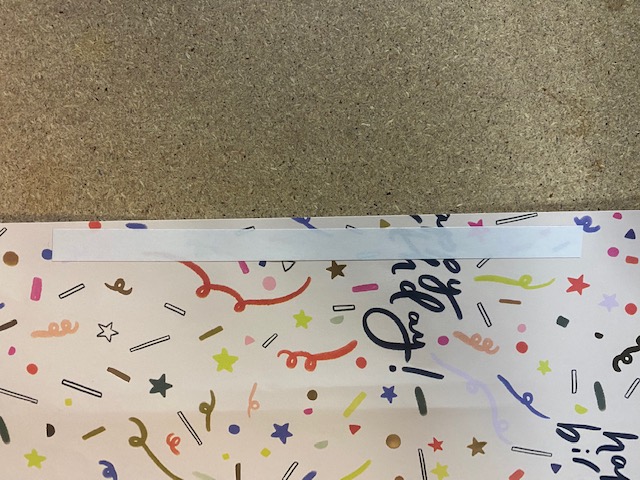
1. To begin, place your item in the middle of your choice of gift wrap and fold the sides together until you meet as close to the middle as possible, this will ensure the neatest lines and folding.

2. Use the double sided tape, peel one side and stick it down to the underneath layer of gift wrap, ready for the top layer to stick to it. Press the double sided tape down firmly and once ready peel to reveal the sticky layer, pull the gift wrap as tight as you can and stick the top layer of gift wrap to the tape. The tighter you get to the edges of the object will ensure a neat fold and a nicer presentation.
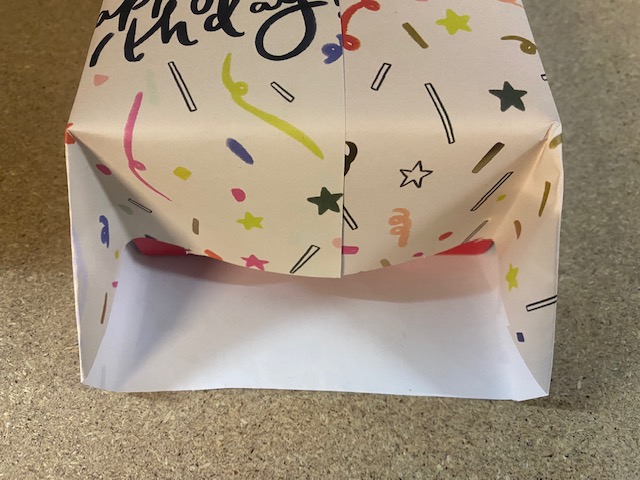
3. Once you have done this it is now time to go to the ends of the item to gift wrap, tightly fold the top left hand corner down so that it meets the bottom left corner, this will create a triangular shape within the inside of the end as shown below, do this on both sides so that left meets left and right meets right. Ensure that the corners are tight to the product and that the folds are straight and secure.
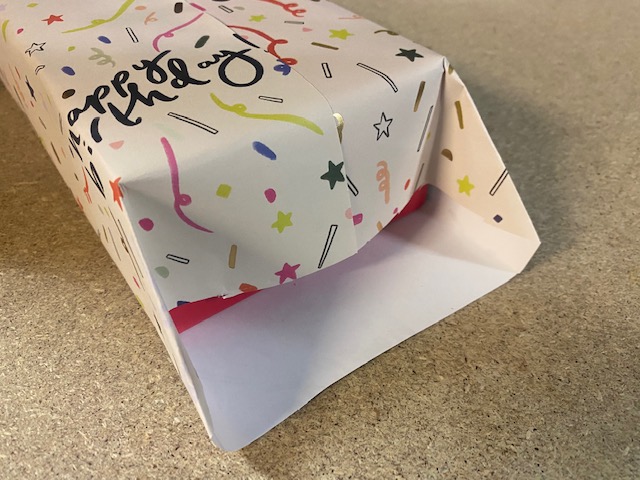
4. After you have done this and made all the edges straight and tight to the product you will now need to fold the bottom half. Take the left bottom corner and fold it inwards so that the point of the corner meets the middle of the item, as shown below. Do this on both sides until you have a lip showing at the bottom of the gift wrap, this is what is going to wrap the product together to create a neat display.

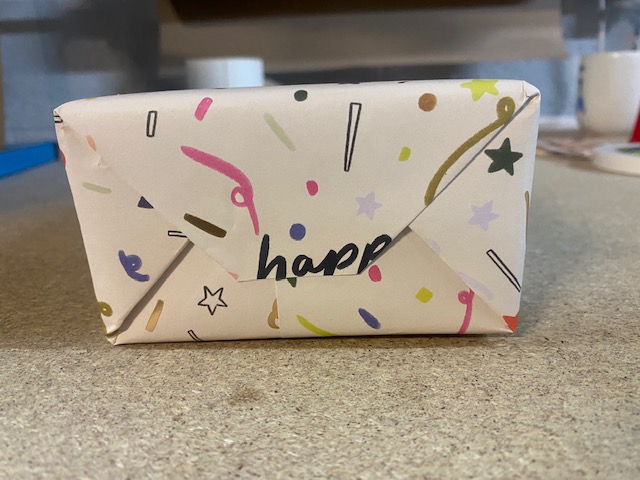
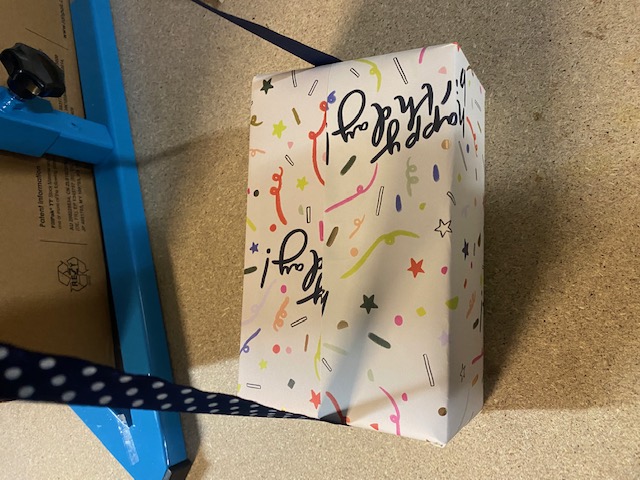
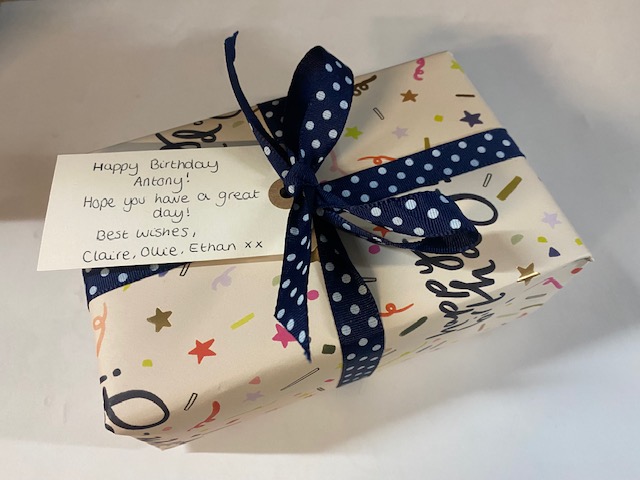
5. Once you are happy with the look of the gift wrapped item and made sure that the edges are flat and neat, you can then apply double sided tape to the middle of lip ready to be stuck to the rest of the parcel. Make sure you press the double sided tape down firmly to ensure a neat lift of the tape. Peel the layer off the double sided tape and tightly stick the lip to the top of the parcel, it should look a little something like the image below!
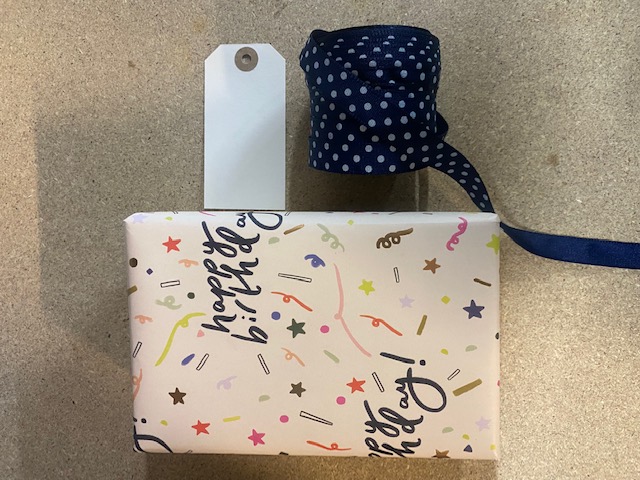
6. This is the hard bit done, you now have your well wrapped gift! Now it is time to just add the left over decorations to make your gift look extra pretty. Choose your ribbon and gift tag of choice and cut the ribbon to how much you think you'll need, we always think that the longer the better as if you have any left over you can use it on something else! To begin with the ribbon you almost want to work back to front. Place the ribbon horizontally across the top of the gift so that it sits flat, once you have done this you then want to bring it round the back of the present and flip it round so that the back is now facing you, as shown below. You should then have the back of the present facing you.
7. Bring both sides of the ribbon across one another so that the right hand side goes to the left and the left goes to the right, once your hands are crossed you then want to pull your hands to the top and the bottom of the gift so you almost have a cross shape with the ribbon in the centre.
.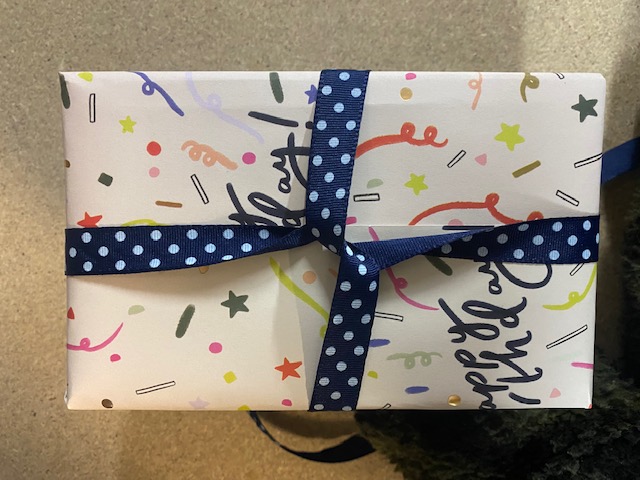
8. You can now flip the gift back round so that the top of the present is now facing back to you, you should now be left with the two ends of the ribbon which we will now tie to make a beautiful bow. Bring both ends together and tie the bow as you wish, we recommend threading the end of the gift tag through one end of the ribbon before you tie it to make it look professionally done! Tie the ribbon as tight as possible to ensure a sleek look, this is what makes the gift so special!
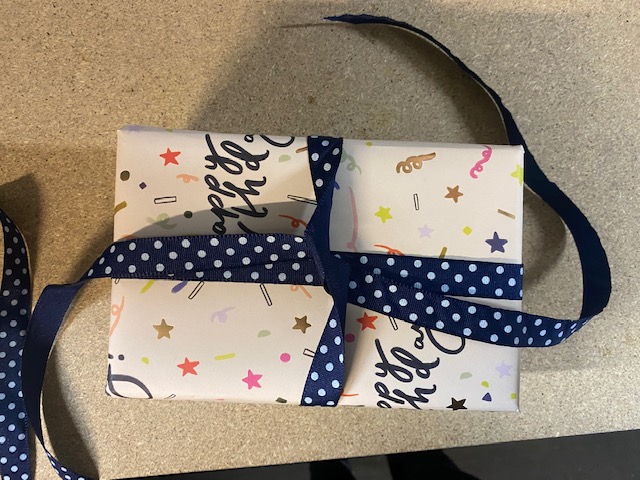
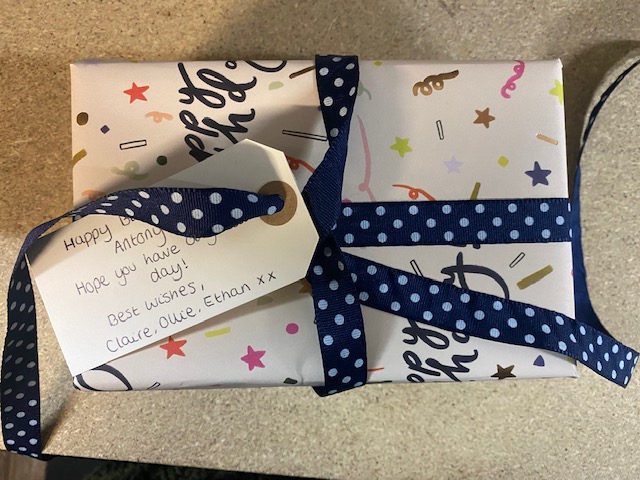
9. To finish cut the ends of the ribbon so each hanging piece is the same size, fiddle around with the bow so that you are happy with its desired shape and look and ta dah! You have now successfully wrapped a gift which looks amazing and has love and effort into it as well, we know that any recipient will appreciate the thought and care that has gone into a lovely gift wrap like this one.